Potatoes In The Home Garden
Have your previous home-grown spuds been duds? Growing a successful potato crop in the Pikes Peak region is equal parts skill and luck. Some gardeners would argue that luck is the primary ingredient, but knowing how to grow potatoes will certainly help! Hopefully this guide will give you some pointers.
Site Preparation
Potatoes need soil that is loose, rich in aged organic matter and drains quickly. A heavy, clay soil MUST be amended with well-rotted manure, compost or Canadian sphagnum peat moss if a potato planting is to be successful. Or consider growing in raised beds to avoid the issues associated with clay soil.
Add fertilizer before planting. Phosphorus, which promotes tuber development, should be included in the fertilizer. A good 8-10-8 vegetable food is perfect for potatoes. If straight fertilizers (instead of a mix) are to be used, two pounds of potash and three pounds of super-phosphate per 100-foot row is sufficient. Mix all fertilizers thoroughly with the soil before planting. Adding mycorrhizae at planting time may also be beneficial.
Crop rotation is key for any vegetable garden. Potatoes should be rotated in the garden every season and should not be planted in the same ground more frequently than every four years as this will help discourage potential pest and fungal problems. It helps if they can be rotated to a spot where legumes (peas/beans) grew the year prior as these crops fix nitrogen while potatoes deplete it.
Start With Seed Potatoes
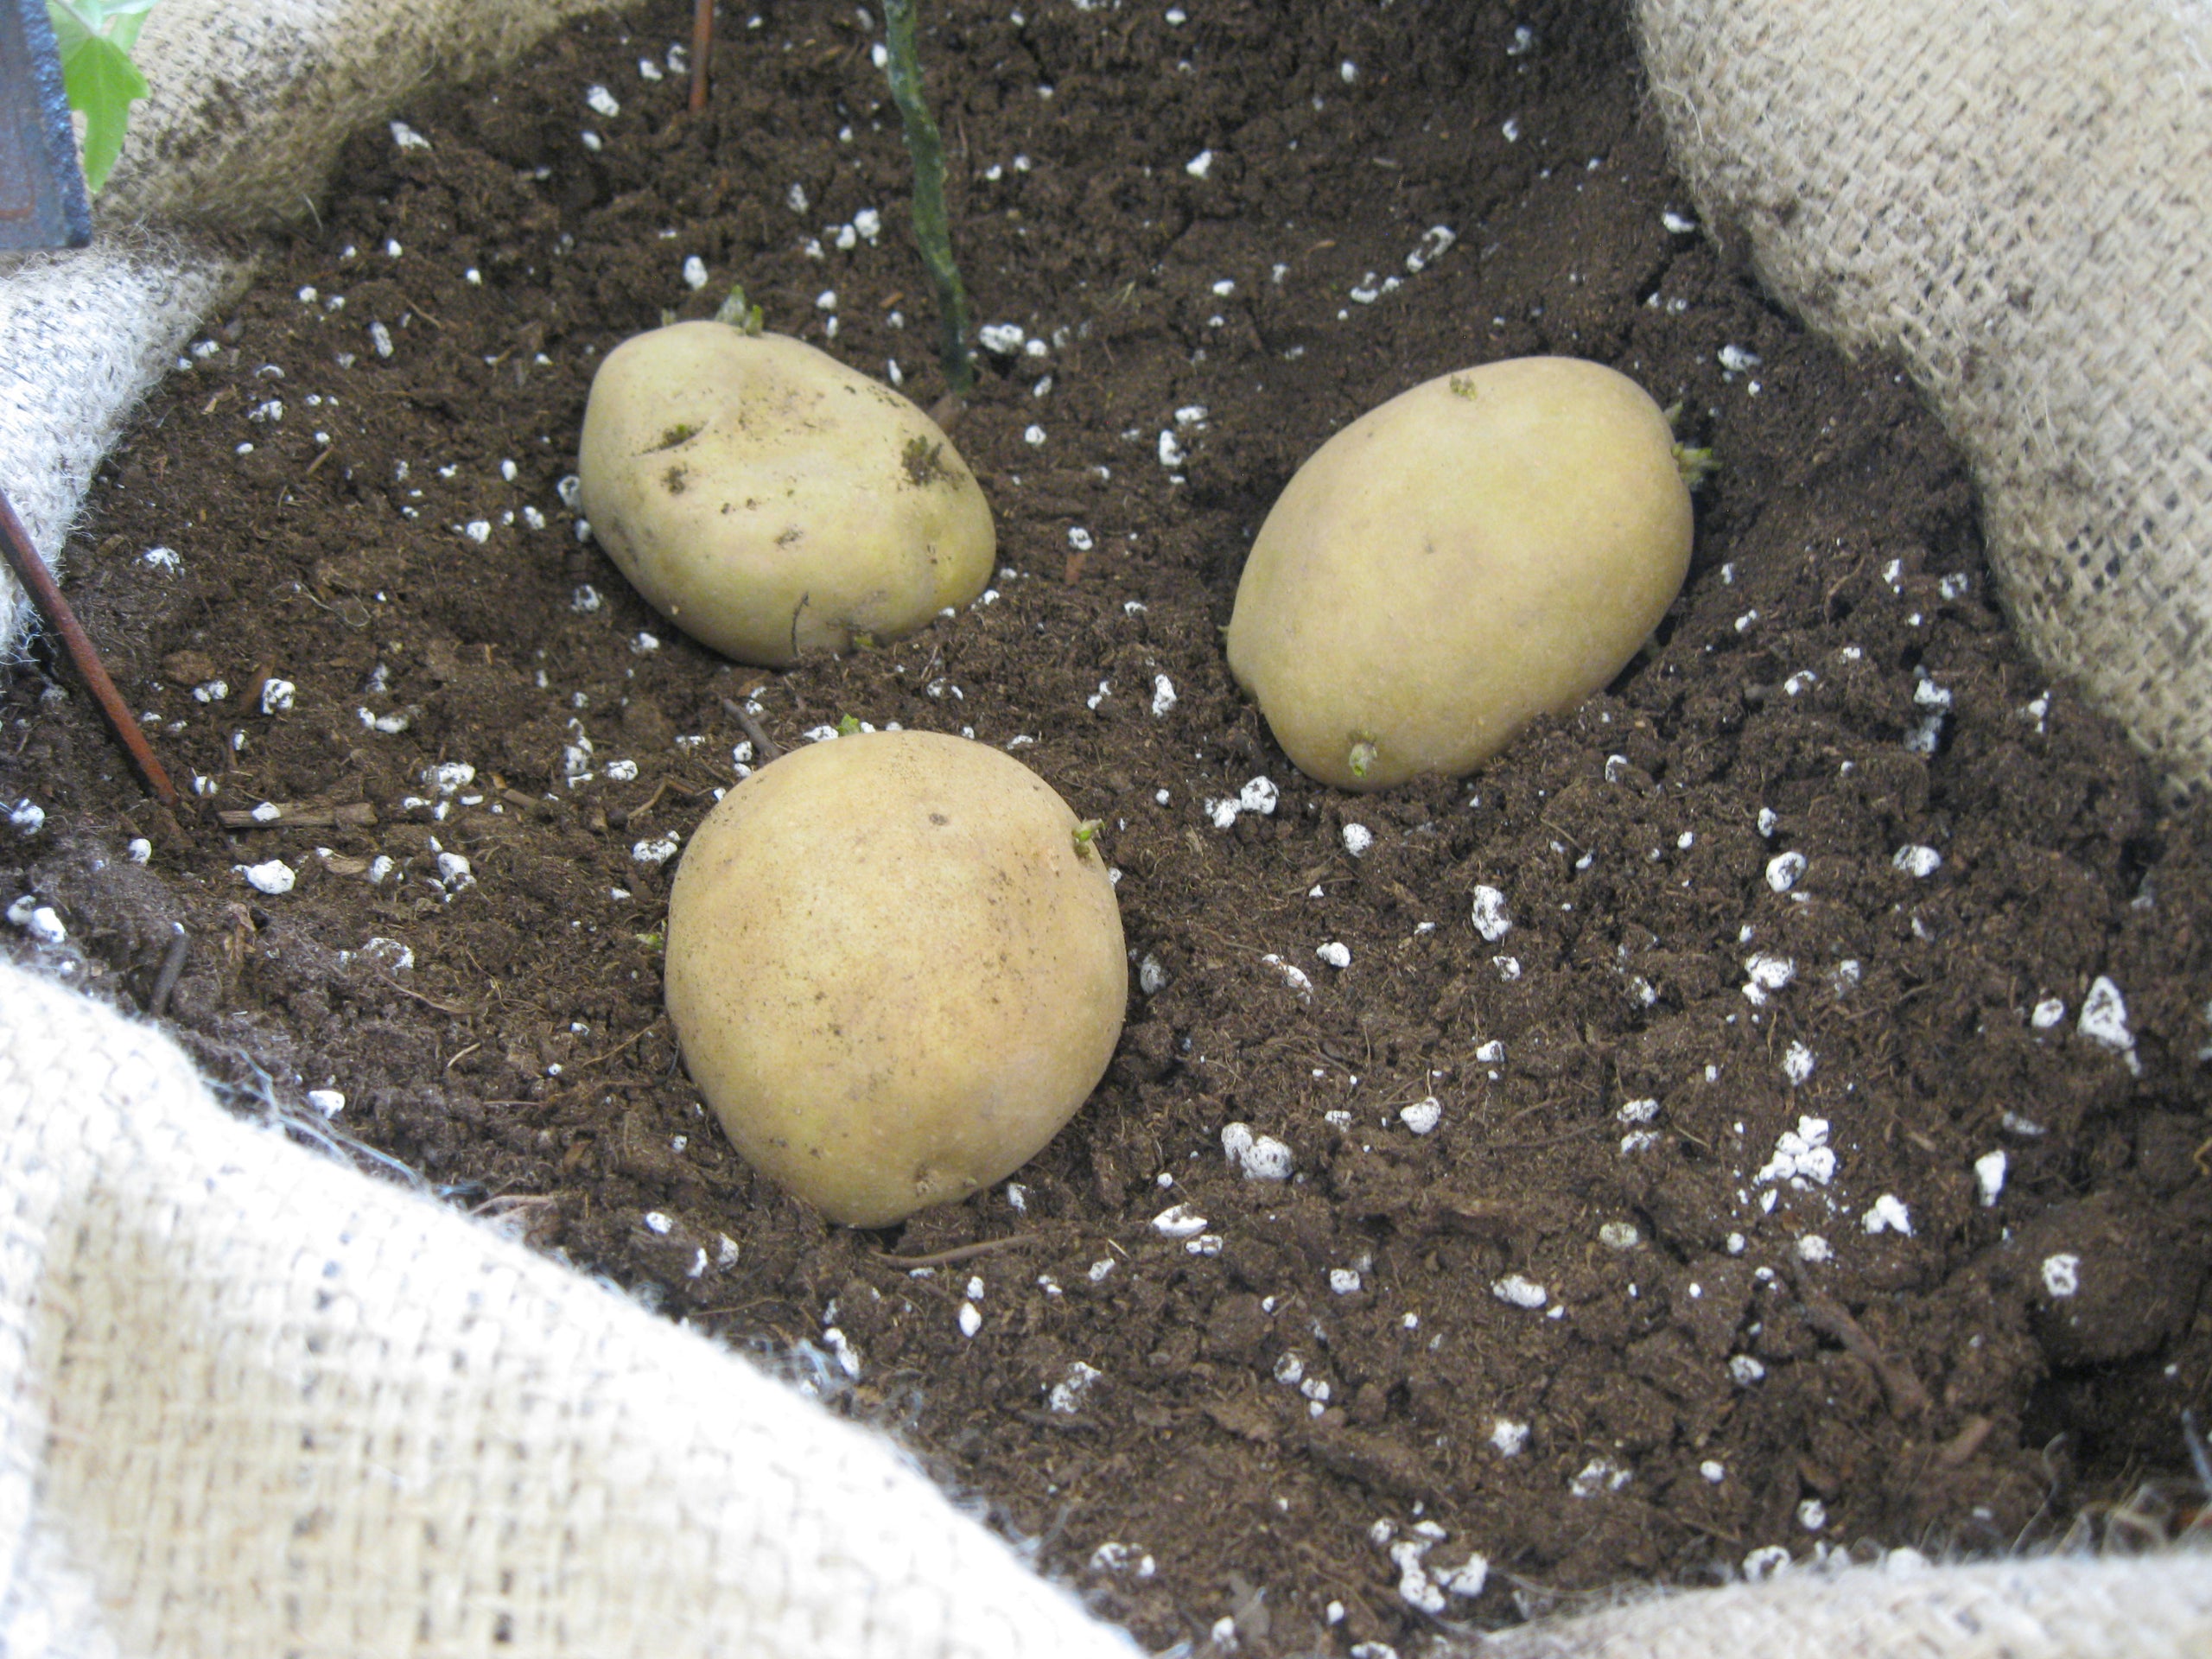
Planting only CERTIFIED SEED POTATOES will ensure disease free tubers at planting. Large seed potatoes should be cut into small segments with at least two viable eyes per piece. Dusting with garden sulphur helps prevent fungal/rotting issues and can help influence pH favorably for potatoes. While wearing gloves, add a small amount of garden sulphur to a paper or plastic bag and then add cut seed potatoes, close and shake until coated. Discard the excess sulphur into your garden or compost. Lay the cut potatoes on paper in a cool, dry place so they can form a callus prior to planting. Callusing takes about 24 hours. Alternatively, you can choose to plant “single drop” seed potatoes to eliminate the need for cutting. Seed potatoes are available at Phelan’s around mid-March.
Planting Instructions
Potatoes can be planted two-three weeks before the last expected killing frost which is approximately May 15th for downtown Colorado Springs. Outlying areas and higher elevations will have a later date. According to the Colorado State University Extension Service, you should aim to plant potatoes when the soil has warmed to a temperature of 55 degrees during the day and 45 degrees at night. Planting too soon can encourage rot. Also, if soil is waterlogged from a wet Spring, delay planting until it has had a chance to dry down a little.
Plant the potato sets into trenches 5 inches deep and 12 inches apart with rows at least 2 feet apart. Expect sprouts in three weeks. Five to eight pounds of seed potatoes will plant a 100-foot row. Backyard gardeners limited in space can consider using a fabric potato grow bag as long as fresh new soil is used each year.
The no-dig Back to Eden gardening method also works great for potatoes. Prep your soil ahead of time, lay down your seed potatoes and keep covered with 10-12" of mulch to help with moisture and keep sun off of your potatoes. Simply removed the mulch as needed to harvest.
Maintenance and Pests
Potato beds should be cultivated frequently to eliminate weed competition and increase the oxygen content of the soil. As plants sprout, a soil mound or ridge should be gradually pulled up at the base of the plants to prevent light from striking newly formed tubers and turning them green. This “hilling up” also protects the actual plant from getting blown over in high winds. This is important...if you lose the above ground growth, there is obviously nothing to feed your below ground tubers.
Potatoes should be irrigated consistently throughout the growing season but will not tolerate waterlogged soil. Organic mulches (such as straw) help retain moisture around the roots.
Colorado potato beetle will likely be your largest potential pest problem. Keep a close eye on your crop to catch them early as they are voracious feeders and can defoliate a crop in no time. Crop rotation helps keep these pests from getting well established. Floating row covers can help exclude these pests if deployed early on. Existing pests can be treated by simply picking them off and discarding. If the infestation is severe, you may choose to follow up with pyrethrin
containing pesticide sprays or neem oil. These products can also be used to control the assorted aphid psyllid species that occasionally infest potatoes. Aphids can also be washed off with a strong blast of water from the hose.
Harvesting
Harvest can begin when the potato tops have dried back. Although “baby” potatoes can be snitched throughout the season. After digging, potatoes should dry only enough to allow a gentle brush away of excess soil. If you plant a variety that can be stored, you’ll need to cure them in a dark place with high humidity for two weeks (utility room with portable humidifier) until longer term storage at 40 degrees in a dark place.